

You will need:
- Bleach
- Colorful dye, liquid or powder
- A bottle or pan to dye in
- Assorted sizes of Christmas tree figures. (Michael's has a pack of 21 half-price right now)
- Spray adhesive
- Glitter
- Star stickers
- Other embellishments
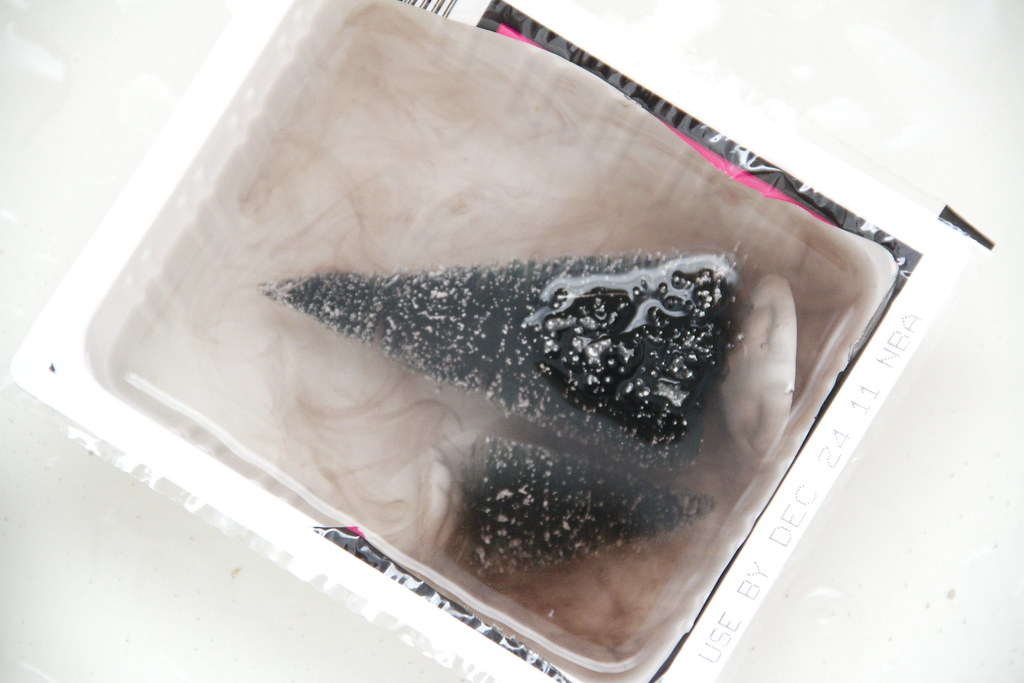
Mix bleach with water in a container. The higher the bleach ratio, the faster the trees will turn white. Please do this process in a well-ventilated area! Pop in your trees.

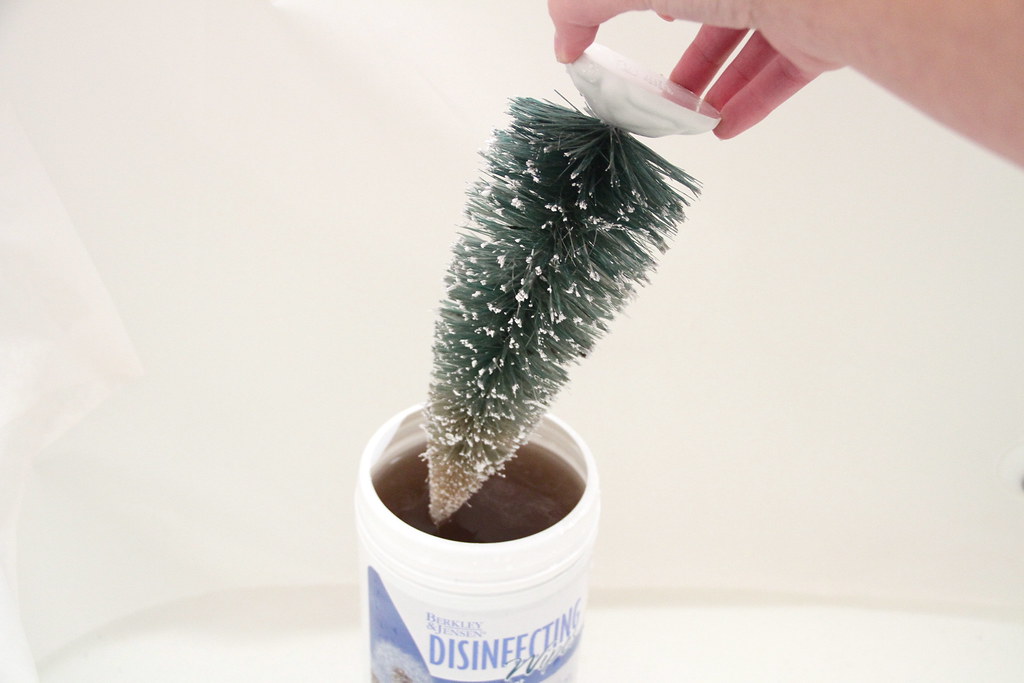
Rinse each tree under cold water to remove the remaining bleach. Shake out the excess water. While they air dry a little, prepare your dye. I would suggest wearing gloves during both processes to protect your hands. Also, have paper towels ready, and a flat paper bag on which to place the dyed trees to dry. (Say that five times fast!)

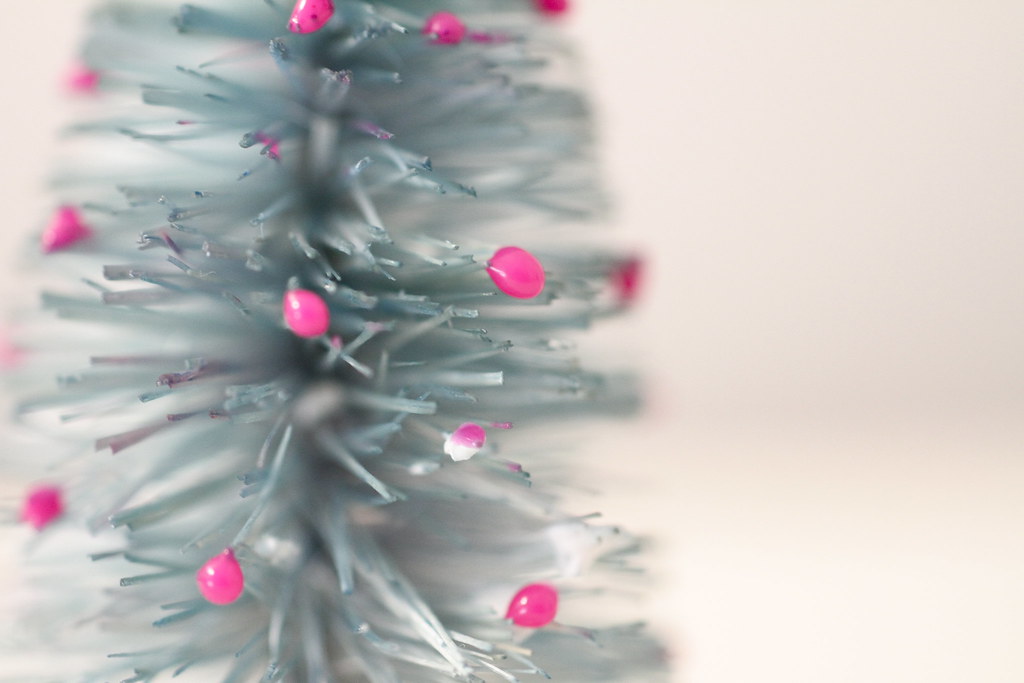
I used both a powder dye and a liquid dye. I wanted to achieve a light turquoise/teal color on half of the trees, which I could only find in liquid form. Neither method worked better than the other. I followed the dye instructions - mix with warm water and salt - and monitored the trees in their respective dye containers often. I was a little bummed the blue wasn't as turquoise-y as the packaging led me to believe, so after a super dark blue tree or two, I left the trees in the blue dye for about 15 seconds, tops. If you're happy with the color, rinse the dyed trees under cold water to remove any excess dye. If not, pop them back in for a few more seconds. Let them dry before decorating.
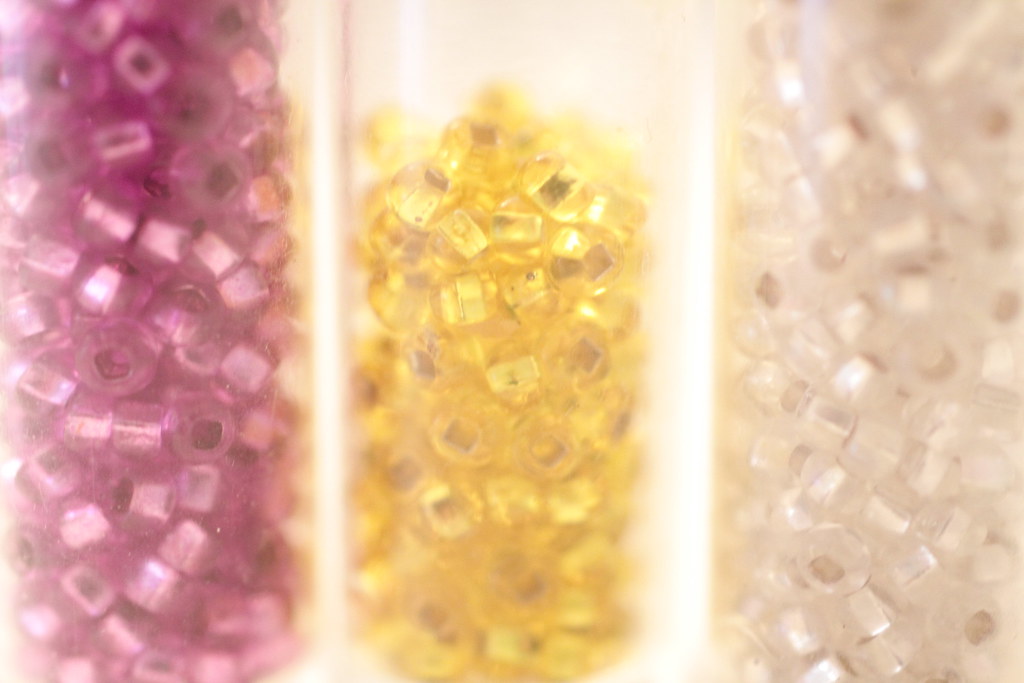
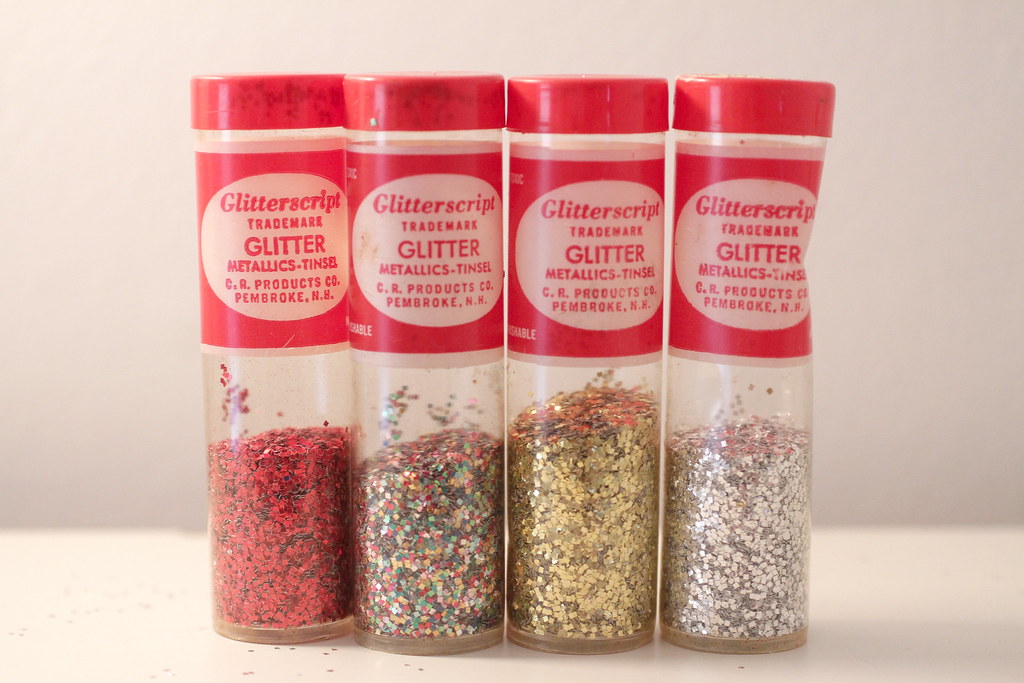
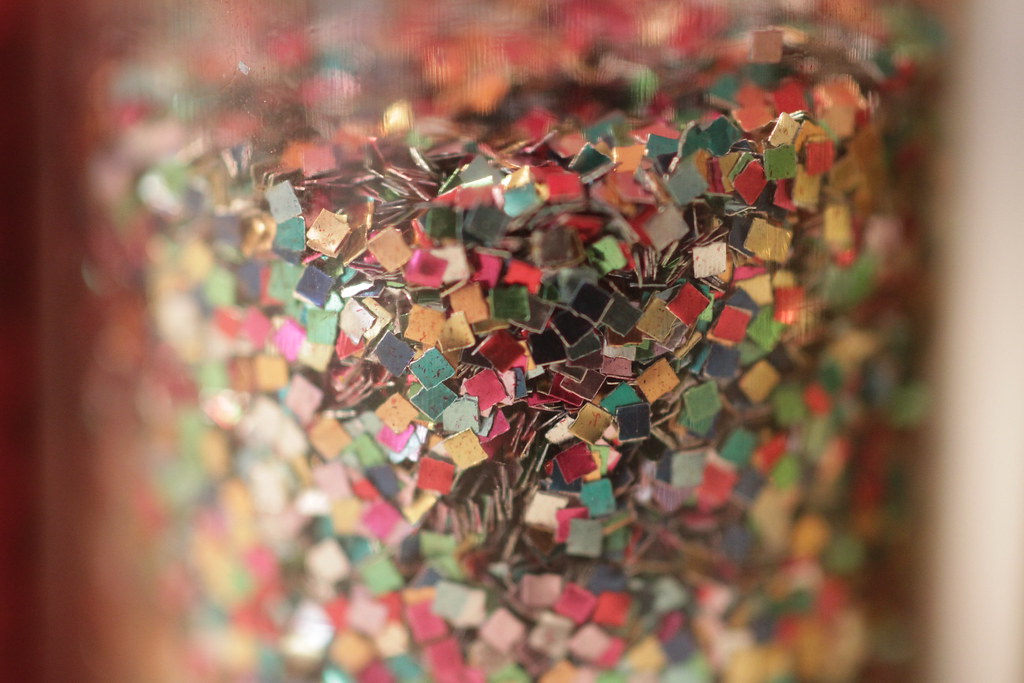
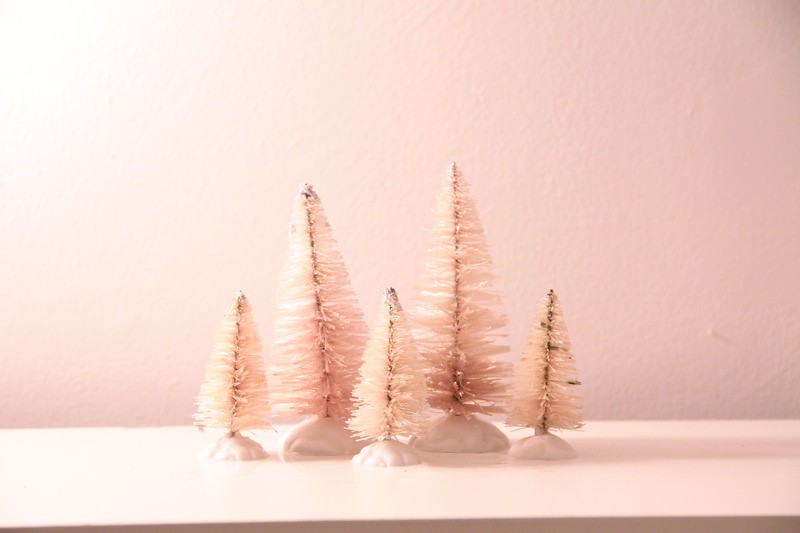
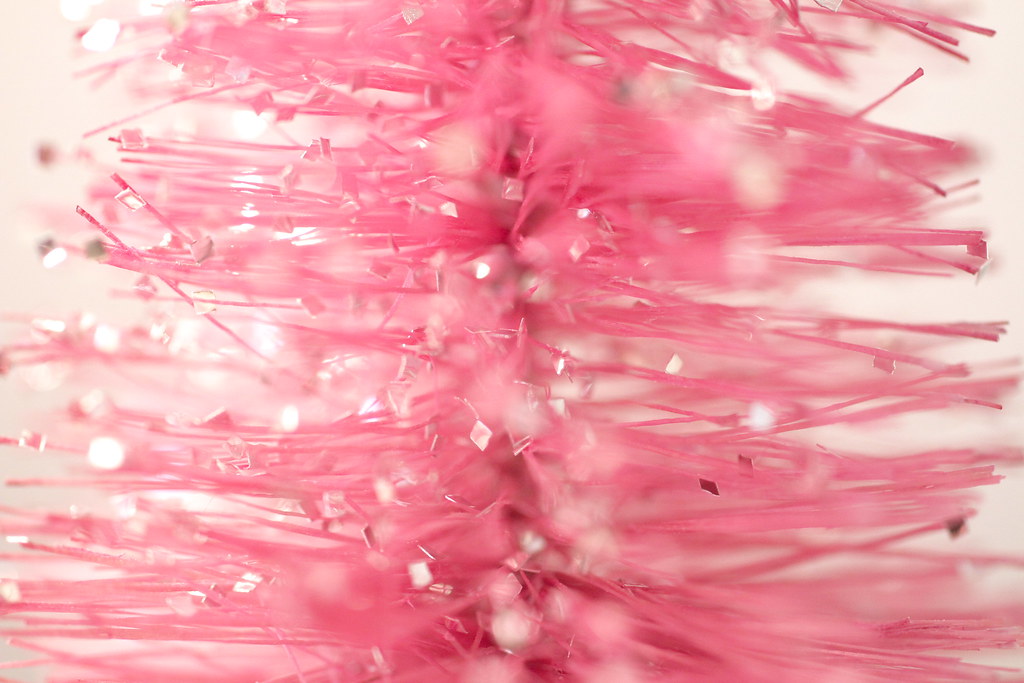
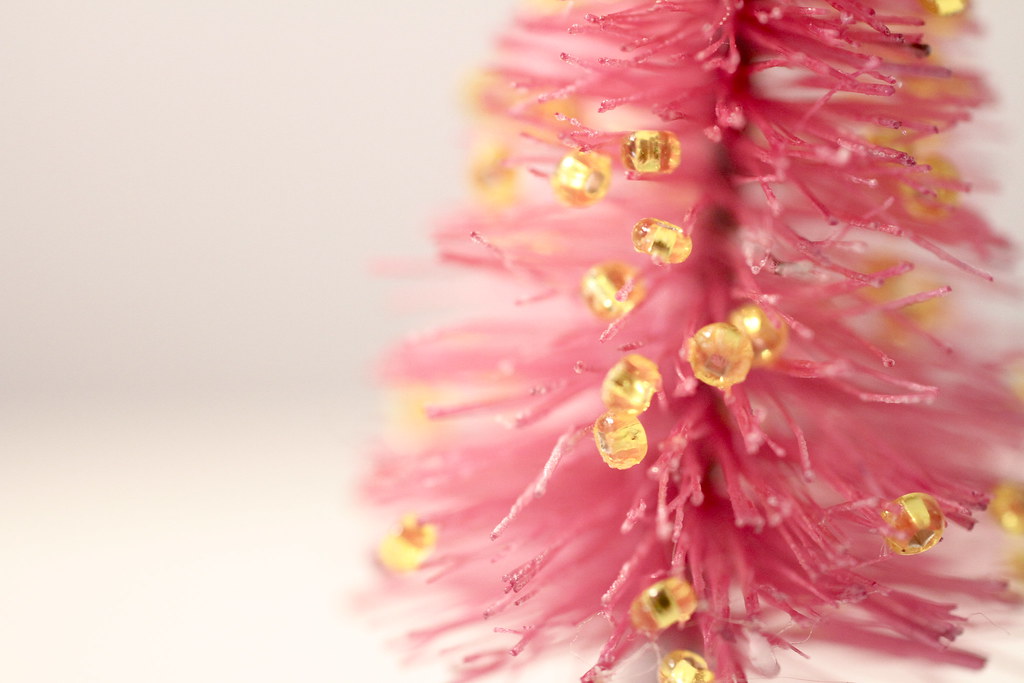
Use small beads, glitter or any other fun miniature charms you have lying around to decorate your dried trees. I used chunky glitter, puff paint to emulate baubles, small beads and star stickers to decorate them. Pearls and colorful thread will adorn my next batch!
They're also cute without any glitter and a sole star!

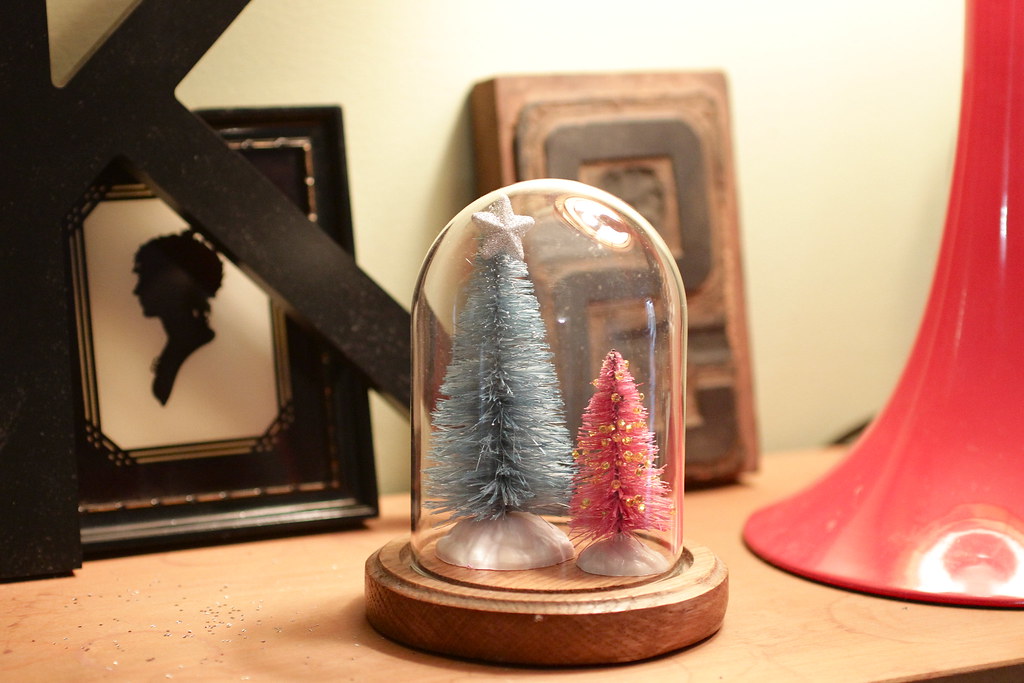
Grouped together or placed throughout your home on bookshelves or mantles, these trees are certainly eye-catching.

A few of mine will be put under glass globes with some woodland creatures and some will be used to pretty up some present packaging!

If you try this Bottle Brush Tree Tutorial, let me know how it fares for you! I'd love to see what colors are chosen and where the trees end up! :)
Wow, this is such an amazing tutorial! I'm bookmarking this for sure, the result is so cute! I love that you put your trees under glasses :)
ReplyDeleteAw thanks, Kyla! I can't wait to see what you make! :D
ReplyDelete