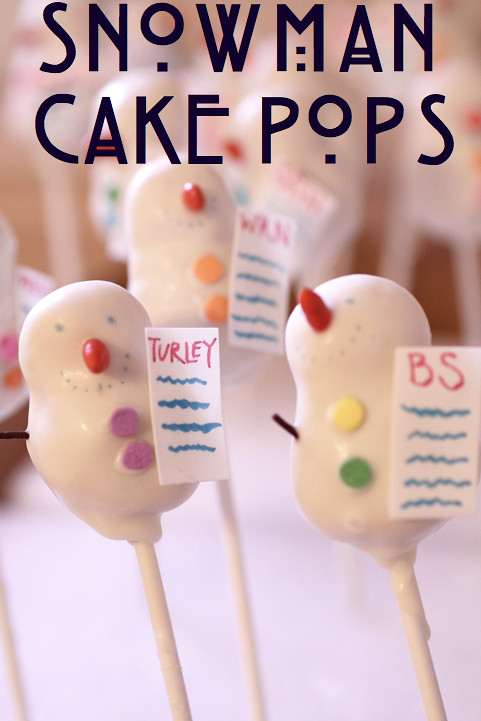
What doesn't taste good on a stick?
Okay maybe you shouldn't answer that question. But anyway!
Cake Pops! Oh man. These trendy little guys sure are a lot of work, but are totally worth the effort.
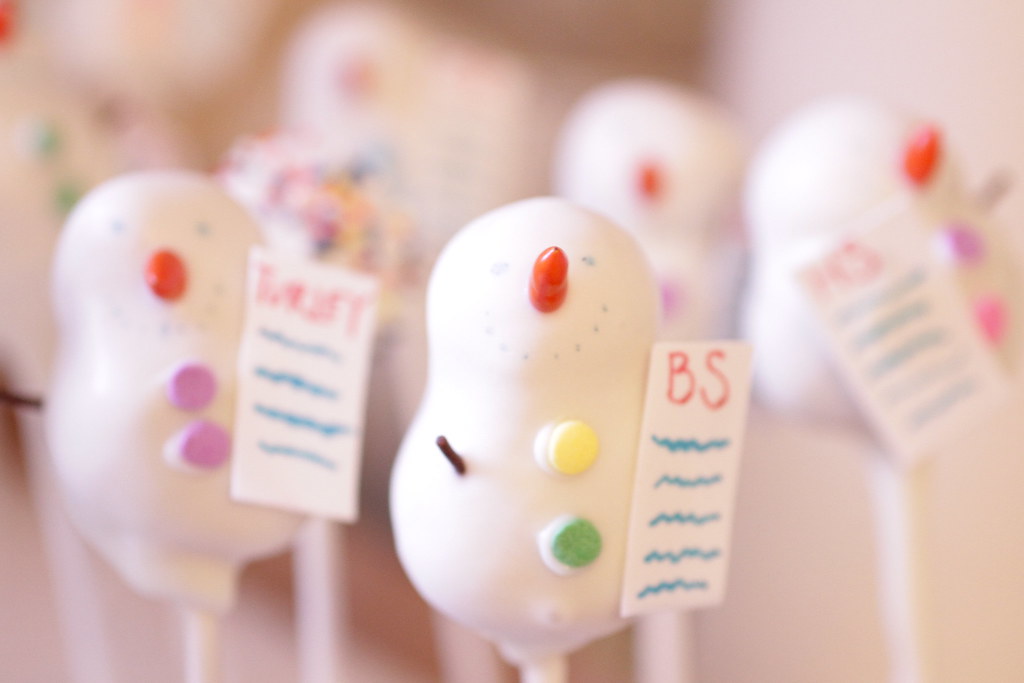
This past Friday was my company's holiday party. If you don't know, I'm a reporter and editor-in-chief of two weekly newspapers here in Western Massachusetts. We're paper people.
Last year, I made Vegan Red Velvet cupcakes with newspaper cupcake toppers. I printed out mini versions of the 15 newspapers and five main magazines we publish and I adhered them to toothpicks. I couldn't tell more what my co-workers liked best - the toppers or the cupcakes.

This year, I wanted to stick with the newspaper theme but couldn't figure out how. I googled a number of cake pop recipes and learned the basics. Along the way, I found an image of snowmen cake pops and immediately knew I had to adapt them.
After one failed test run earlier in the week, an unnecessary amount of time tracking down brown sprinkles (WHY was that so hard!?) and an asssemly line consisting of Mum, Sean and Todd, my snowmen reporter army was born.
Snowmen Cake Pops
What you need:
- A box of cake mix or your own recipe. I used white cake.
- White frosting
- White choco melts
- Candy sticks
- Fun sprinkles
- Edible markers
- Choco covered orange sunflower seeds
- Edible paper/fondant
- Styrofoam
Directions:
Bake your cake earlier in the day, giving it enough time to cool down before making these men!
Once cool, crumble the cake. Seriously!
Mix about half of a can of frosting, or enough to turn the cake into more of a dough-like consistency.
Mold the mixture into whatever shapes you wish. For snowmen, I molded a smaller circle on top of a larger one out of the same handful of cake.
Melt your chocolate in a dish deep enough to dip in the snowmen. Take a candy stick and dip it in the melted chocolate before sticking it inside your cake pop. This helps keep the pop on the stick!
Once you've made enough, place the pops on a baking sheet in the refrigerator to cool.
While cooling, pour sprinkles into jars or on plates.
After the pops have cooled for about 20 minutes (or as long as you can wait!), it's time to dip. Carefully dip the pop into the white melted chocolate. Go slow, or else the pop will fall off into the chocolate under the weight of too much!
Once covered, tap the stick with a knife to remove excess chocolate. Stick the pop in the styrofoam to dry upright. Add the sunflower seed for a nose and brown sprinkles for arms at this point.
Repeat this step until all are covered. Now it's time for decorating!
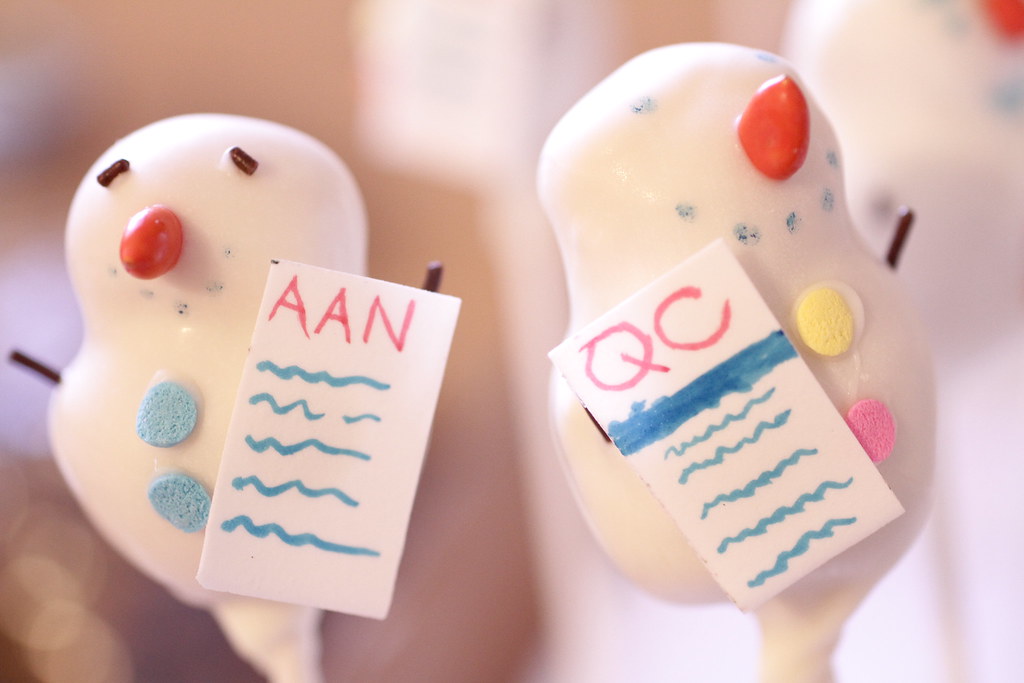
Confetti sprinkles work great for buttons. Or red dots. (Target has holly berry sprinkles which would work well). Or whaetver you can come up with! "Glue" them on with melted chocolate.
Edible markers are used to draw on eyes and smile. You could also pipe on dark chocolate using a toothpick or pastry bag. For the newspapers, I cut rectangles out of edible paper and wrote the initials of all of our newspapers and magazines at the top. Voila! Other online tutorials created hats and pipes and all sorts of other cute things to add. Like scarves!
Sean got a little carried away decorating this one .... haha!

These reporter snowmen cake pops were such a hit! Each editor wanted to eat their own newspaper. Many others thought they were too cute to eat and wanted to keep them on their desks. (Permenant ones could be created with clay!) A few friends even took some home to their children or their grandchildren.
They tasted great, to boot!
I wouldn't make these on a whim - they do require a lot of patience and attention. However, they were super fun to make and even more delightful to watch my co-workers enjoy them!

What cake pops have you made? Any tips or creative ideas?